This article will explain how to install Unity on the Windows operating system.
Navigate to the unity.com website and click on the “Get Started” button in the top menu.
The browser opens a page showing the different plans and pricing that Unity offers. When you install Unity, you will need to choose which license you wish to use, Personal, Plus or Pro. Click on the Individual tab.
The personal license of Unity is Free and will give you access to all the features you need to start learning and develop your first game.
Click on the “Get started” button for the Personal Edition and the page will display where you download the Unity application.
Click on “Download for Windows” button to save the file to your computer.
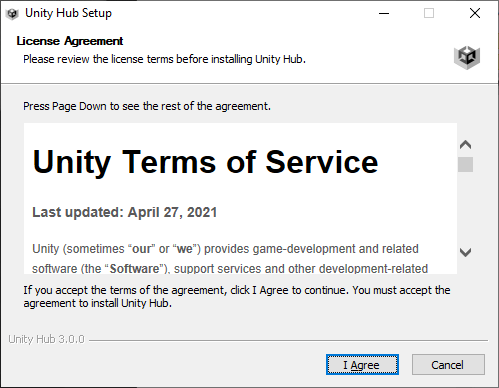
Locate the file “UnityHubSetup.exe” you just downloaded on your computer and open the file. You will see the License Agreement for the Unity Hub Setup.
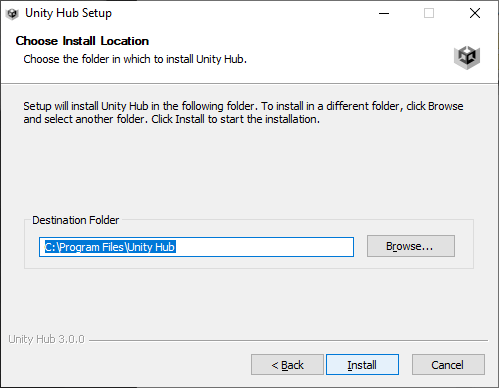
Click on the “I Agree” button to accept the terms of the agreement. Next, you will have the option where you want to install the files.
Accept the default location or decide where you want to install the unity files, then click on the “Install” button.
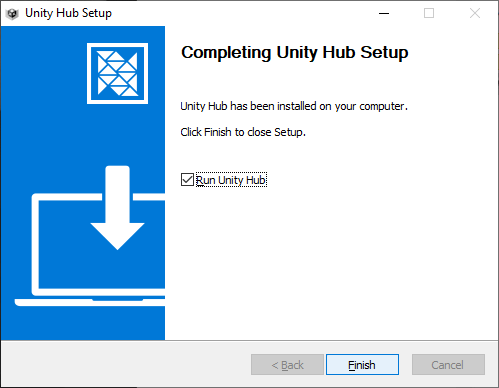
The installation will take a few minutes, once completed you will see the Completing Unity Hub Setup screen.
Click on the “Finish” button to close the setup.
Next you will see the “Welcome to Unity Hub” window with a Sign in button.
If you do not have an account with Unity, you will need to create one. Click on the “Create Account” link under the Sign in button, this will open your browser to the create Unity ID page.
Fill in your Email, Password, Username and Full Name, plus agree to the Unity Terms and Unity Privacy Policy.
Once completed, click on the “Create a Unity ID” button.
Unity will send you an email, click on the link to confirm your email. On the Unity website, continue to confirm until you reach your account information. After you verify your account information logout. You will login again later.
Return to the “Welcome to Unity Hub” window and click on the “Sign In” button. Your browser will open to the Unity sign in page. After you login, you will be asked to allow this site to open the unityhub link?
Click on the “Choose Application” button. Next, you will need to open the Unity Hub.
Click on “Open Link” button to open the Unity Hub.
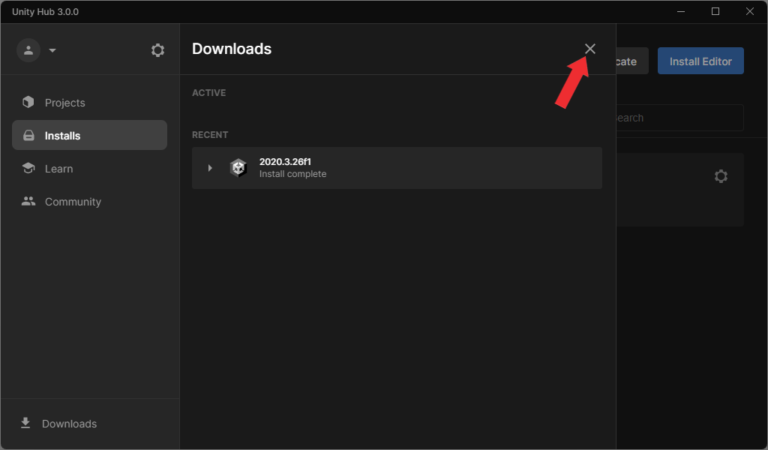
Click on “Installs” in the menu, then click on the “Install Editor” in the top right corner. The latest release will be displayed.
Click the blue Install button to the right of the 2020.3.26f1 editor version.
Next, you can select the modules you want to use.
Click “Install” button to start the installation process. The process may take a few minutes. The next screen displayed will indicate the install is complete.
Close the window and you will see the editor has been installed.
Once your installation is complete, you will need to validate your Unity license is activated.
Click on the drop-down next to your account, then Manage Licenses and verify the personal edition license is active.
Conclusion:
You installed the Unity editor for the latest Long Term Support release (LTS). The LTS release is for users who wish to continue to develop and ship their games/content and stay on a stable version for an extended period.